Installing your own gratia webpage
Here's the quick instructions of how I setup my own version of it:
- Install a newer version of python-cherrypy from rpmforge. EPEL version is not new enough.
rpm -Uvh http://rpms.arrfab.net/rpmforge/packages/python-cherrypy/python-cherrypy-3.1.2-1.el5.rf.noarch.rpm
- Install the OSG repos.
- Install the Metrics RPM:
yum install OSG-Measurements-Metrics-Web -y
- Copy /etc/DBParam.xml.rpmnew to /etc/DBParam.xml
cp /etc/DBParam.xml.rpmnew /etc/DBParam.xml
- Now, you can edit DBParam.xml file to point to your own gratia databases. For example, at Nebraska, we have an instance that points to our own Nebraska gratia server. This way we can see only local usage. To use the OSG's, you will need to use the readonly account. Replace all of the ******'s with 'reader'. In VIM, you can do:
:%s/\*\*\*\*\*\*/reader/g
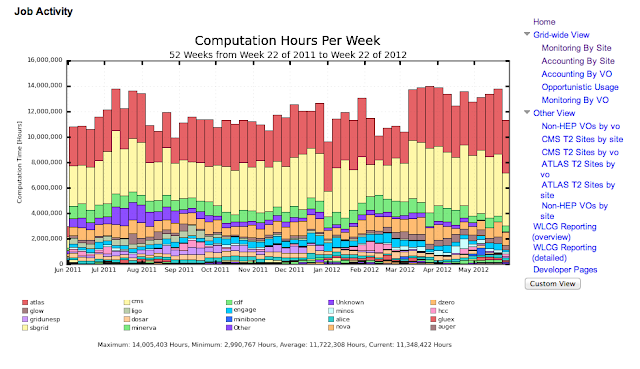
- The website relies on a set of static graphs that are updated every few hours. They have to be saved and served by the systems http server. So install the http server:
yum -y install httpd
- Make the directory for the static graphs to be saved into:
mkdir -p /var/www/html/gratiastatic
- Configure the static graph generator to put the images in this directory, and to generate the images from the gratia instance. You will need to change both the Source and Dest. The configuration is in /etc/osg_graphs.conf:
- Change the static graphs location in the DBParam.xml:
<staticfilehostname value="http://10.148.2.148/gratiastatic"> </staticfilehostname>
- Start the services:
service httpd start
service GratiaWeb start
 |
| Running private instance of gratia web |


Leave a comment